Pages and routes
What you'll learn
- How to add new pages
- How to link from one page to another
- How to style a page with CSS
Creating a new project
Before we get started, let's create a fresh new project called "pages-and-routes" using the Elm Land CLI:
elm-land init pages-and-routescd pages-and-routeselm-land serverYou should see your new Elm Land application is running at http://localhost:1234.
Adding new pages
When you create a new project with elm-land init, a homepage is automatically created for you. A homepage is a great start, but most web applications will need multiple pages.
Let's imagine we are building a GitHub clone. Here are six pages it might contain:
- Home - shows a feed with interesting repos to follow
- Sign in - allow users to sign in with email/password
- Account Settings - allows a user to change their email, username, etc
- User - shows the profile for a specific user
- Repo - shows a repo for a specific user
- File Explorer - shows a repo for a specific user
In Elm Land, the names of files in the src/Pages folder automatically connect a URL to a specific page. For example, if you navigated to /banana in your web browser, Elm Land would look for a file named src/Pages/Banana.elm.
With that in mind, what would the pages in our fake GitHub app look like?
| Page | Elm File & Example URLs |
|---|---|
| Home | Elm file:src/Pages/Home_.elmURLs: / |
| Sign in | Elm file:src/Pages/SignIn.elmURLs: /sign-in |
| Account Settings | Elm file:src/Pages/Settings/Account.elmURLs: /settings/account |
| User | Elm file:src/Pages/User_.elmURLs: /elm/elm-land/ryannhg |
| Repo | Elm file:src/Pages/User_/Repo_.elmURLs: /elm/compiler/elm-land/vscode/ryannhg/elm-spa |
| Code Explorer | Elm file:src/Pages/User_/Repo_/Tree/Branch_/ALL_.elmURLs: /elm-land/elm-land/tree/main/README.md/elm-land/elm-land/tree/main/examples/01-hello-world/elm.json/elm/compiler/tree/master/roadmap.md |
Let's add each of those pages together!
The "Sign in" page
To get started, let's start with a page that is displayed when a user visits the URL /sign-in.
We can create our sign-in page using the elm-land add page command shown below:
elm-land add page:view /sign-in🌈 Elm Land added a new page at /sign-in
⎺⎺⎺⎺⎺⎺⎺⎺⎺⎺⎺⎺⎺⎺⎺⎺⎺⎺⎺⎺⎺⎺⎺⎺⎺⎺⎺⎺⎺⎺⎺⎺⎺⎺⎺⎺⎺
You can edit your new page here:
./src/Pages/SignIn.elmThe elm-land add page:view command created a view-only page that allows us to customize two things:
title- the text shown in the browser tabbody- the HTML we want to render on the screen
Here's what that code looks like for our /sign-in page
module Pages.SignIn exposing (page)

import Html exposing (..)
import View exposing (View)


page : View msg
page =
    { title = "Pages.SignIn"
    , body = [ text "/sign-in" ]
}Anytime you run the elm-land add page:view command, a new file will be created in the src/Pages folder.
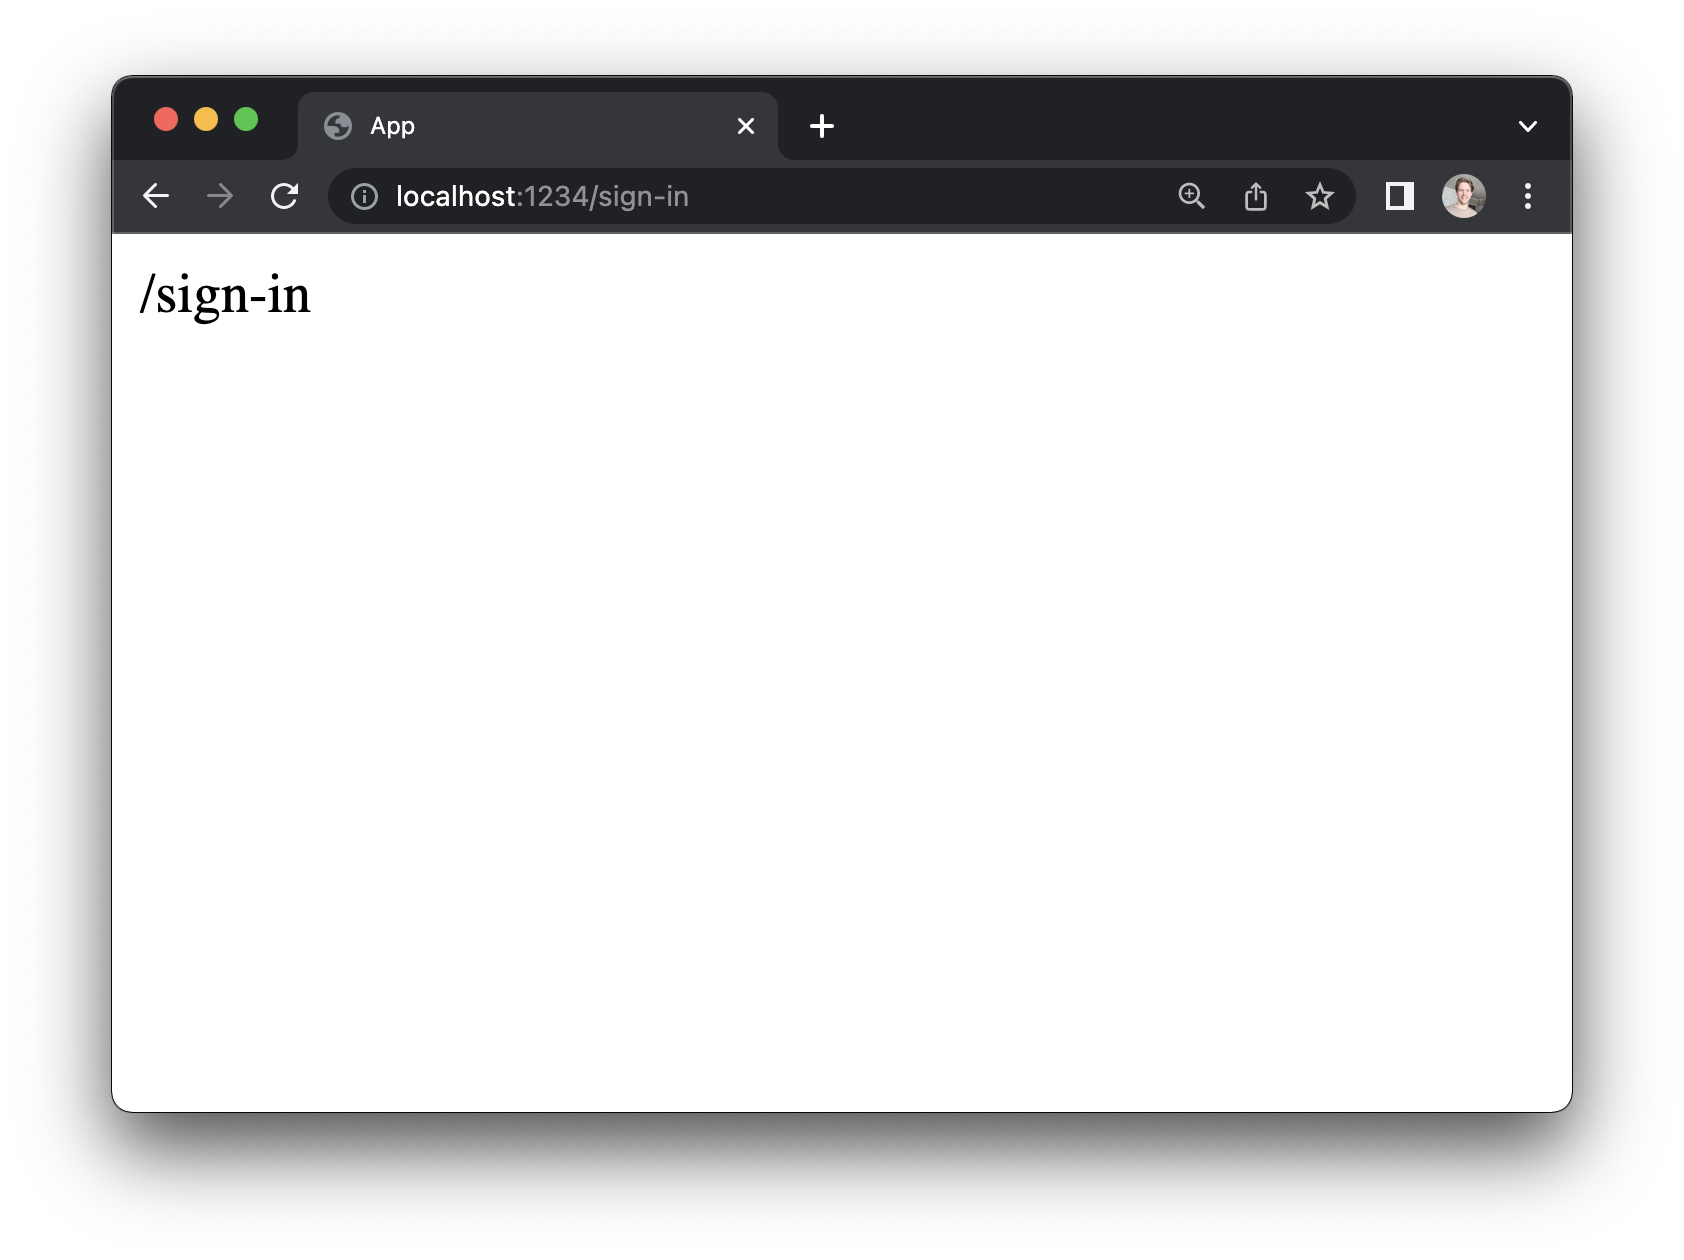
If we visit http://localhost:1234/sign-in in the browser, we will see this new page:
The "Account Settings" page
Some pages in our app need a URL like /settings/account or /settings/notifications. In Elm Land, we refer to these as "nested routes".
A nested route is what we call a route with more than one slash in the URL. Let's add a nested route for account settings:
elm-land add page:view /settings/account🌈 Elm Land added a new page at /settings/account
⎺⎺⎺⎺⎺⎺⎺⎺⎺⎺⎺⎺⎺⎺⎺⎺⎺⎺⎺⎺⎺⎺⎺⎺⎺⎺⎺⎺⎺⎺⎺⎺⎺⎺⎺⎺⎺⎺⎺⎺⎺⎺⎺⎺⎺⎺
You can edit your new page here:
./src/Pages/Settings/Account.elmHere is the code generated at ./src/Pages/Settings/Account.elm:
module Pages.Settings.Account exposing (page)

import Html exposing (..)
import View exposing (View)


page : View msg
page =
    { title = "Pages.Settings.Account"
    , body = [ text "/settings/account" ]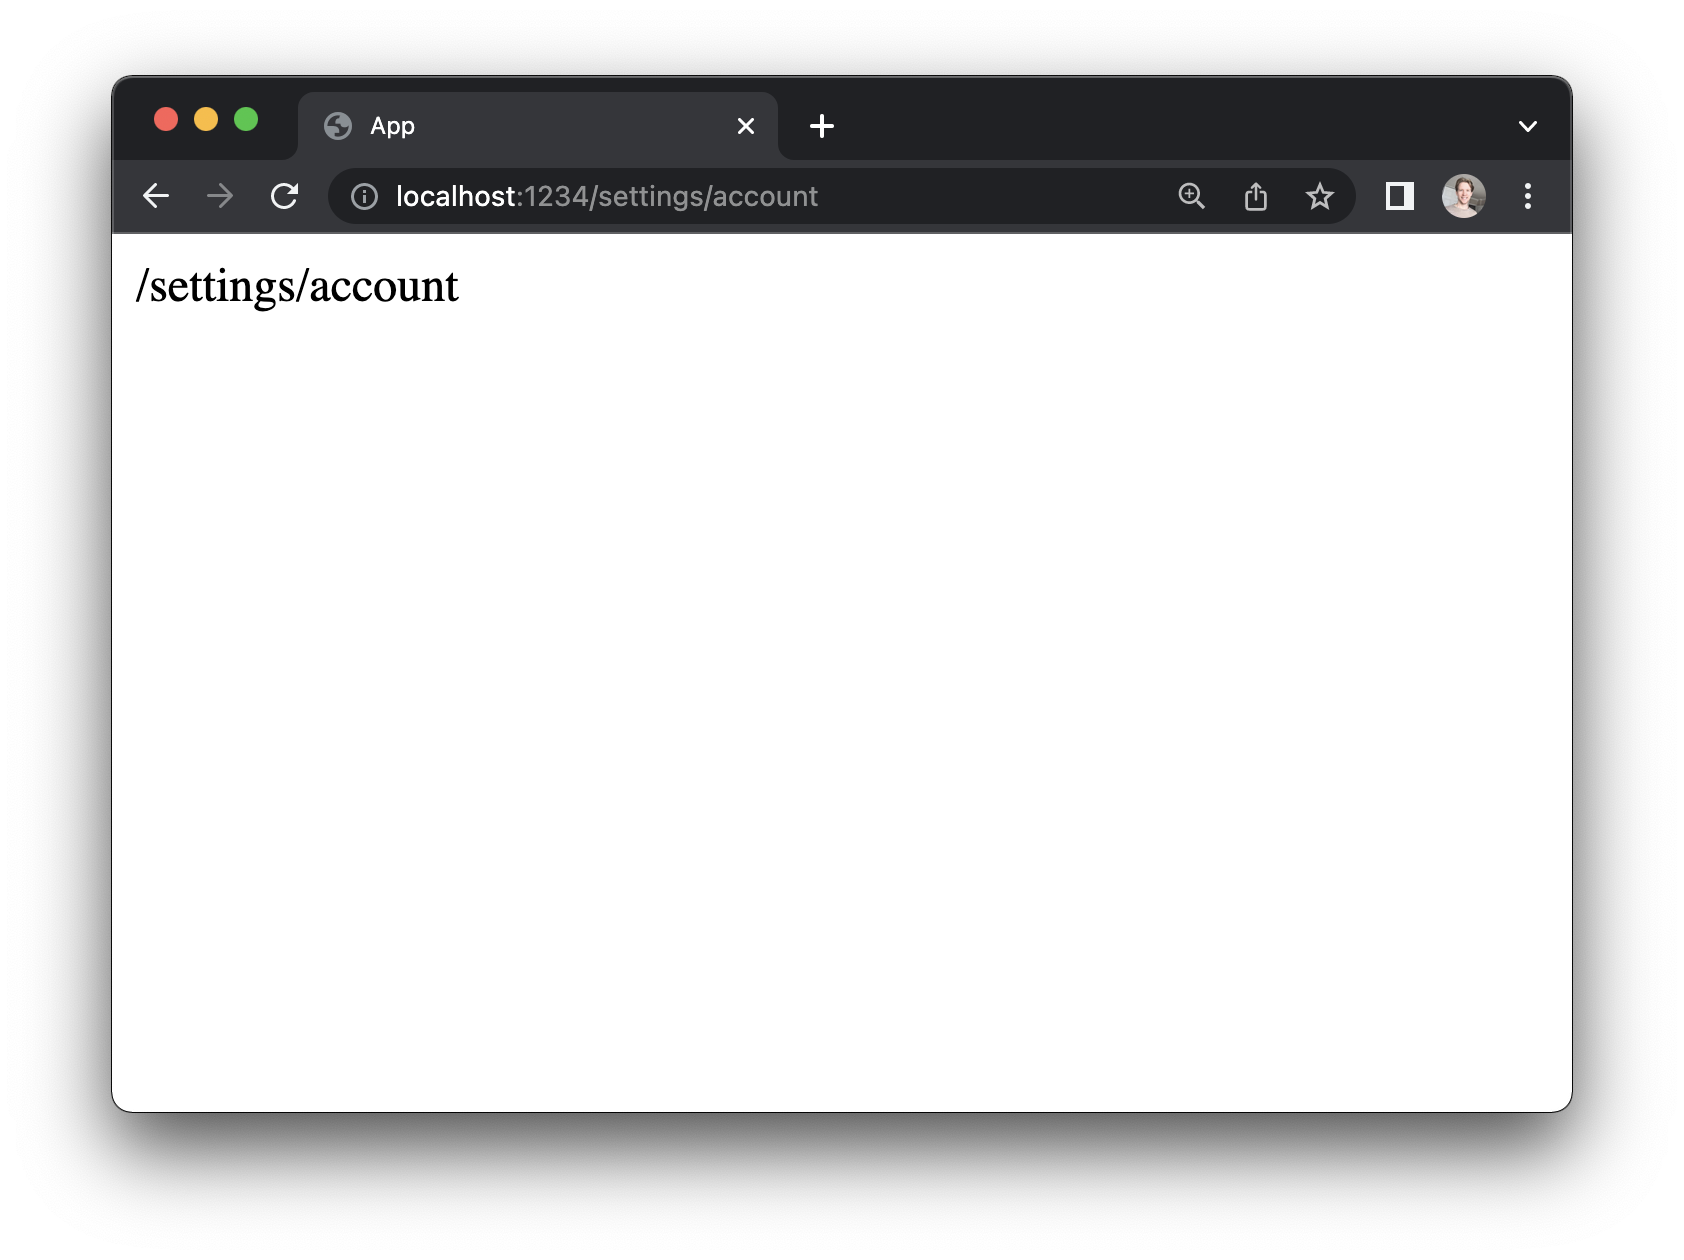
}This is what we see when we visit http://localhost:1234/settings/account
"How deep can I nest routes?"
You can nest routes as much as you like, it doesn't have to be only two-levels deep:
elm-land add page:view /something/really/nested/like/super/nestedThat command will create a file in a bunch of nested folders inside your src/Pages directory, and be available when visiting the provided URL.
The "User" page
For things like the "User" page, our app won't know all the usernames up-front. It's common to define a single detail page that will work for any username provided in the URL.
When we need to handle URLs like /ryan, /duncan, or /alexa, we can make a "dynamic route".
A dynamic route passes in URL parameters (like username) to your page as an input, so it can handle the dynamic values.
elm-land add page:view /:userUnlike our static /sign-in and /settings/account pages, the dynamic user page has access to a URL parameter input. Let's take a look at the new file together:
module Pages.User_ exposing (page)

import Html exposing (..)
import View exposing (View)


page : { user : String } -> View msg
page params =
    { title = "Pages.User_"
    , body = [ text ("/" ++ params.user) ]
}Here, the value of params.user depends on the URL in the browser. For example, when a user navigates to /elm-land, the value of params.user will be "elm-land".
This will be helpful later, when we learn how to work with APIs to fetch different content based on URL parameters.
Naming dynamic parameters
We learned earlier that page filenames affect which URL renders our page. Did you know they also affect the names of our dynamic URL parameters?
Because our user page was at User_.elm, the value for our URL parameter is params.user.
If we renamed this file to Id_.elm, it would automatically update the parameter name to params.id. The Elm compiler will let us know if any of our code needs to change. This gives you the flexibility to choose the name that makes sense in each specific scenario.
"What's up with the trailing underscore?"
You may have noticed there is a trailing underscore in the "User_.elm" file. What's up with that?
Underscores help Elm Land distinguish a static route from a dynamic one:
User.elmis static, and only handles/userUser_.elmis dynamic, and can handle/ryannhg,/elm-land, and more
The "Repo" route
For our repo route, we'll want to access two dynamic parameters:
- The
userwho owns the repo - The
reponame for the project.
Elm Land supports nested dynamic routes, which handle multiple dynamic URL parameters:
elm-land add page:view /:user/:repomodule Pages.User_.Repo_ exposing (page)
import Html exposing (..)
import View exposing (View)
page : { user : String, repo : String } -> View msg
page params =
{ title = "Pages.User_.Repo_"
, body =
[ text ("/" ++ params.user ++ "/" ++ params.repo)
]
}The "Code Explorer" page
Some web applications have pages that need to respond to many different URLs with an unknown number of / characters between them. This might not make sense for Twitter, but can be helpful if you are building an app like GitHub.
To help users navigate their projects, GitHub has a code explorer page, which needs to handle a pattern like this:
/:owner/:repo/tree/:branch/*Here are some real URL examples to help you visualize how the depth of this page's URL could be any length:
/elm/compiler/tree/master/README.md
/elm-land/elm-land/tree/main/docs/README.md
/elm-land/elm-land/tree/main/examples/01-hello-world/elm.jsonThere will always be an owner, repo, and branch, but the number of files in a user's repo could be multiple URL levels deep. It depends on the content of each project's repo.
elm-land add page:view '/:user/:repo/tree/:branch/*'This will create a file at src/Pages/User_/Repo_/Tree/Branch_/ALL_.elm:
module Pages.User_.Repo_.Tree.Branch_.ALL_ exposing (page)

import Html exposing (..)
import View exposing (View)


page :
    { user : String
    , repo : String
    , branch : String
    , all_ : List String
    }
    -> View msg
page params =
    { title = "Pages.User_.Repo_.Tree.Branch_.ALL_"
    , body = [ text "..." ]
}The ALL_.elm filename is a special filename to handle a "catch-all route". Try opening any of these URLs in your web browser, all of them will match the new page we created!
http://localhost:1234/elm/compiler/tree/master/README.mdhttp://localhost:1234/elm-land/elm-land/tree/main/docs/README.mdhttp://localhost:1234/elm-land/elm-land/tree/main/examples/01-hello-world/elm.json
The "all_" parameter
When working with catch-all routes, you'll have access to the special params.all_ parameter. Here's a quick visualization of how the value of params.all_ will change, based on the URL:
| URL | route.params |
|---|---|
/blog/hello | { all_ = [ "hello" ] } |
/blog/elm/land | { all_ = [ "elm", "land" ] } |
/blog/elm/land/ui | { all_ = [ "elm", "land", "ui" ] } |
The "elm-land routes" command
After adding in all these pages, our project should look something like this:
pages-and-routes/
├── README.md
├── elm.json
├── elm-land.json
└── src/
    └── Pages/
        ├── Home_.elm
        ├── SignIn.elm
        ├── Settings/
        │   └── Account.elm
        ├── User_.elm
        └── User_/
            ├── Repo_.elm
            └── Repo_/
                └── Tree/
                    └── Branch_/
└── ALL_.elmIf you are ever curious about the routes in your Elm application, you can use the built-in elm-land routes command. Here's what that looks like:
elm-land routes
  🌈  Elm Land (v0.20.1) found 6 pages in your application
    ⎺⎺⎺⎺⎺⎺⎺⎺⎺⎺⎺⎺⎺⎺⎺⎺⎺⎺⎺⎺⎺⎺⎺⎺⎺⎺⎺⎺⎺⎺⎺⎺⎺⎺⎺⎺⎺⎺⎺⎺⎺⎺⎺⎺⎺⎺⎺⎺⎺⎺⎺⎺
  src/Pages/Home_.elm ........................... /
  src/Pages/SignIn.elm .......................... /sign-in
  src/Pages/Settings/Account.elm ................ /settings/account
  src/Pages/User_.elm ........................... /:user
  src/Pages/User_/Repo_.elm ..................... /:user/:repo
src/Pages/User_/Repo_/Tree/Branch_/ALL_.elm ... /:user/:repo/tree/:branch/*Navigating between pages
So far, to navigate from one page to another, we've been manually changing the URL in the browser. In a real app, our users need a way to navigate the app within the UI.
For that reason, let's make a sidebar component with convenient links to the "Homepage", "Settings", and "User" pages. We'll design our component so it's easy to add it to any page we like.
The "Sidebar" component
Let's start by creating a new file at src/Components/Sidebar.elm, with the following content:
module Components.Sidebar exposing (view)

import Html exposing (..)
import Html.Attributes exposing (..)
import View exposing (View)


view :
    { title : String
    , body : List (Html msg)
    }
    -> View msg
view props =
    { title = props.title
    , body =
        [ div [ class "layout" ]
            [ aside [ class "sidebar" ]
                [ a [ href "/" ] [ text "Home" ]
                , a [ href "/elm-land" ] [ text "User" ]
                , a [ href "/elm-land/vscode" ] [ text "Repo" ]
                , a [ href "/settings/account" ] [ text "Settings" ]
                ]
            , div [ class "page" ] props.body
            ]
        ]
}To make it easy to reuse, we'll accept the entire page as the input to the UI component. Just like we might pass in a String, Int, or another value, we can pass in Html msg to allow our page's content to be nested inside our component.
Using components on pages
This new sidebar isn't automatically wired up to all our pages. In Elm Land, you can easily opt-in to which pages should use the sidebar by importing the module.
For our example, we don't want a sidebar on the "Sign in" page. For that reason, we will only connect it to our "Homepage", "Account Settings", and "User" page by adding in these lines of code:
module Pages.Home_ exposing (page)

import Components.Sidebar
import Html exposing (..)
import View exposing (View)


page : View msg
page =
    Components.Sidebar.view
        { title = "Homepage"
        , body = [ text "Hello, world!" ]
}Here's what we did in the code snippet above:
- Imported the
Components.Sidebarmodule on line 3 - Passed in the previous
{ title, body }record as an input to our component
Try following the same steps to get this working for: Pages.Settings.Account and Pages.User_. I've included the actual code snippets when you're ready to see what's changed:
Adding the sidebar to Pages.Settings.Account
module Pages.Settings.Account exposing (page)

import Components.Sidebar
import Html exposing (..)
import View exposing (View)


page : View msg
page =
    Components.Sidebar.view
        { title = "Pages.Settings.Account"
        , body = [ text "/settings/account" ]
}Adding the sidebar to Pages.User_
module Pages.User_ exposing (page)

import Components.Sidebar
import Html exposing (..)
import View exposing (View)


page : { username : String } -> View msg
page params =
    Components.Sidebar.view
      { title = "Pages.User_"
      , body = [ text ("/" ++ params.user) ]
}Adding in CSS
All of our pages and layouts are ready, but there's still one missing piece: the page doesn't look pretty. We can add CSS to our Elm Land projects by modifying the elm-land.json file at the root of our project.
Let's add a <link> tag to our HTML by updating the app.html.link property:
{
  "app": {
    "elm": {
      "development": { "debugger": true },
      "production": { "debugger": false }
    },
    "env": [],
    "html": {
      "attributes": {
        "html": { "lang": "en" },
        "head": {}
      },
      "title": "My Elm Land App",
      "meta": [
        { "charset": "UTF-8" },
        { "http-equiv": "X-UA-Compatible", "content": "IE=edge" },
        { "name": "viewport", "content": "width=device-width, initial-scale=1.0" }
      ],
      "link": [
        { "rel": "stylesheet", "href": "/main.css" }
      ],
      "script": []
    },
    "router": {
      "useHashRouting": false
    },
    "proxy": null
  }
}The "static" folder
You can serve static files like images or CSS by adding them in a static folder at the project root, alongside the src folder and elm-land.json file.
Let's start by creating a file at ./static/main.css:
pages-and-routes/
├── README.md
├── elm.json
├── elm-land.json
├── src/
│   └── Pages/
│       └── ...
└── static/
└── main.css/* static/main.css */
body {
padding: 32px;
}
.layout {
display: flex;
gap: 16px;
}
.sidebar {
display: flex;
flex-direction: column;
gap: 8px;
}Now that we've added in some CSS, we should see our full example working. We can use our sidebar to navigate from one page to another.
See the full example in the examples/02-pages-and-routes folder on GitHub.
Nice work!
You just made a multi-page application in Elm Land! Next up, let's take a look at how we can handle user input by learning "The Elm Architecture".
See you there! 👋